What it is#
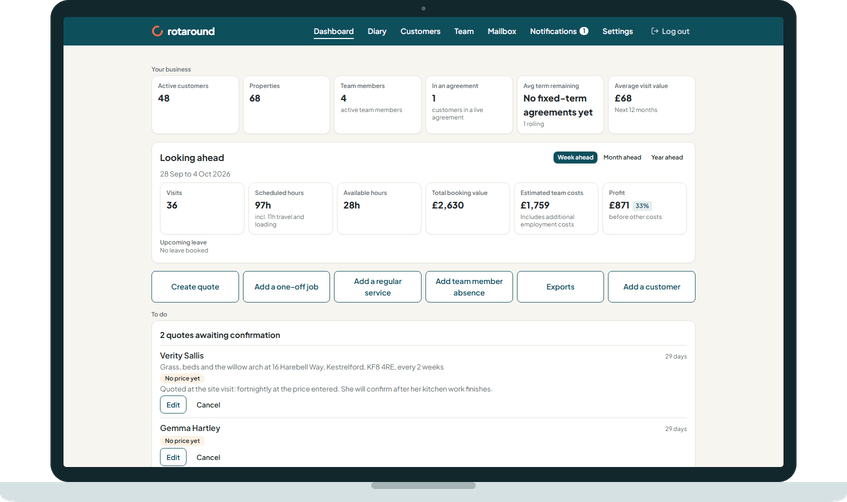
After you sign up, the dashboard shows a card headed Get started with three steps. It ticks each step as you finish it, and it goes away once all three are done. Your business details, logo and email branding are all set in Settings, under Your business.
When to use it#
Use it on your first day, before you add customers. Your trading name, address, logo and colours appear on every email your customers get from you, so it is worth setting them first.
How to do it#
- On the dashboard, find the Get started card. Its steps are Set up your account, Add your team, include yourself if you work on site and Add a customer or import your customer list. Press Set up your account to open Settings.
- In Settings, under Business details, fill in your Trading name and, if it is different, your Legal name. Choose the Business type: Sole trader or Limited company. For a limited company, add the Company number.
- Enter your business address. Type a postcode and press Find address, or fill in Address line 1, Town and Postcode yourself.
- Add a Public email, a Public phone and your Website if you have one. These go in the footer of your emails.
- If you are registered for VAT, tick VAT registered and fill in the rate, the date you registered from and your VAT number, then press Confirm.
- Under Logo, press Upload logo. An editor opens so you can crop, zoom, rotate and fit the image before it is saved. Wide logos stay wide.
- Press Save business details.
- Under Branding, choose what sits in the Email header. With a logo, tick Show your logo in the header instead of company name. Without one, the header shows your Header text.
- Set the Header colour and the Button and link colour. When you upload a logo, colours from it are suggested for you. Your own choice always wins.
- Check the Email footer and the Preview, then press Save email appearance.
What your customer sees#
Every email your customers get from you carries your header, your colours and your footer. Your logo shows in the header if you chose it. The footer is built from your legal name, company number, website, email and phone, and updates by itself when those details change. There is a small powered by line at the bottom.
If you are VAT registered, prices across the app and in customer emails show VAT.
What happens next#
The first step on the Get started card ticks once your trading name, first address line, town and postcode are saved. Your logo also appears in the app's header. The next steps are adding your team and adding your customers.
Good to know#
- The logo can be PNG, JPG, WebP, GIF, SVG or HEIC, up to 10MB. Use Replace logo or Remove logo to change it later.
- To write your own email footer, type in the footer box. Reset to my business details puts the standard footer back.
- The app's own colours are fixed. Branding changes your emails only.
- The logo, VAT and colours do not count towards the Get started card. Only the trading name and address do.
- There is no difference between automatic mode and self mode here.
Related articles#
Not what you needed? Contact us and say what you were trying to do.